Windows has been able to identify multiple sound input and output devices connected to a system. With this you can independently manage the volume for these devices and when a device connects/disconnects you can also change the volume settings on the fly. In the volume mixer if your volume headphones don’t show up Windows 10 is no different, this simply won’t work. Windows 10 will detect the headphones as new hardware and sound will of course be routed through them but to manage them as a separate sound input/output device you need to add them first. Want to how? Here is a little trick.
In this post we will discuss about how to adjust volume in Windows 10 (for headphones). Feel free to read and kindly follow the instructions. First of all make sure your sound drivers has been installed properly and that you are running the latest version. For this you need to go to the Device Manager and check if an update is available for the sound driver. If despite the sound driver is up to date, it’s not hard to understand that your headphones aren’t detected in the volume mixer. Don’t worry there are two ways of dealing with this, I’m telling you are are at a right place. 1- Use the Windows default sound settings, 2- Or Use the sound driver’s own audio control panel. We are going to discuss how to use both.
1- Windows Sound Settings:
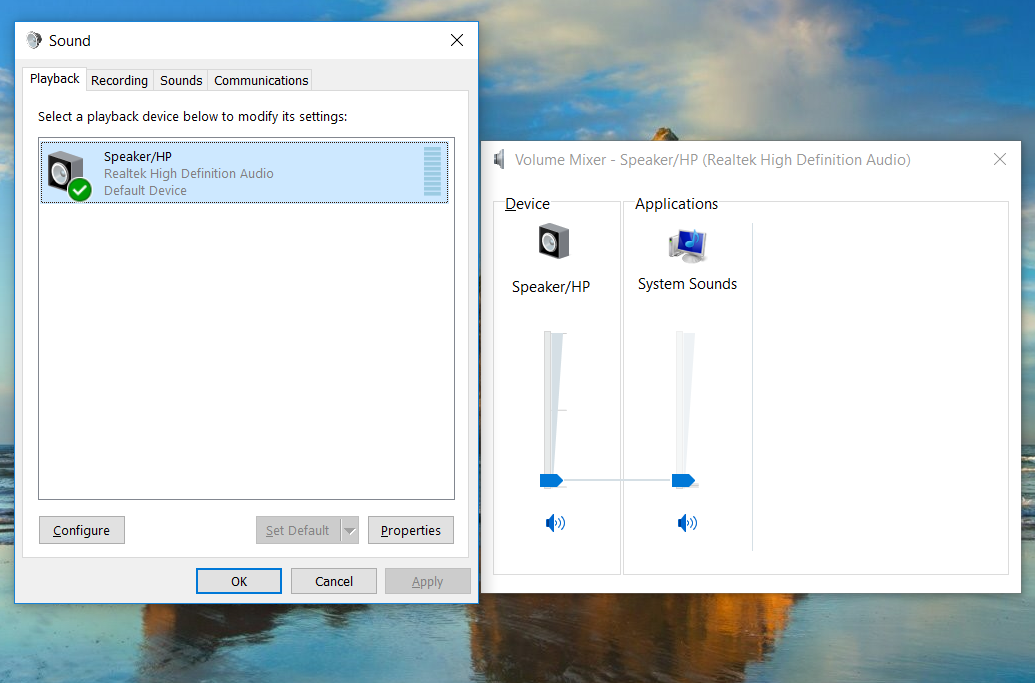
- Connect your headphones, after connecting Right-click the speaker icon in the system tray and select Sound.
- Now as you can see there is a default speaker listed in the Playback tab. All you have to do is just Right-click on the speaker and select “Show disconnected devices” and select also “Show disabled devices”. The headphones you’ve connected will now appears as a disabled device.
- Right-click on the disabled headphones and select “Enable”.
- That’s right! you are done! This should enable the headphones. Now you need to set them as a default device, simply select them and click “Set default” button. Remove the headphones and connect them again. Both speakers and headphones will start appearing as separate devices in the volume mixer. You can now mange their volume independently, Windows will remember the level for each one. So, the next time when you connect the headphones. It will automatically adjust the volume to the last set for the device.
2- Sound Driver’s Audio Control Panel:
- Connect your Headphones first.
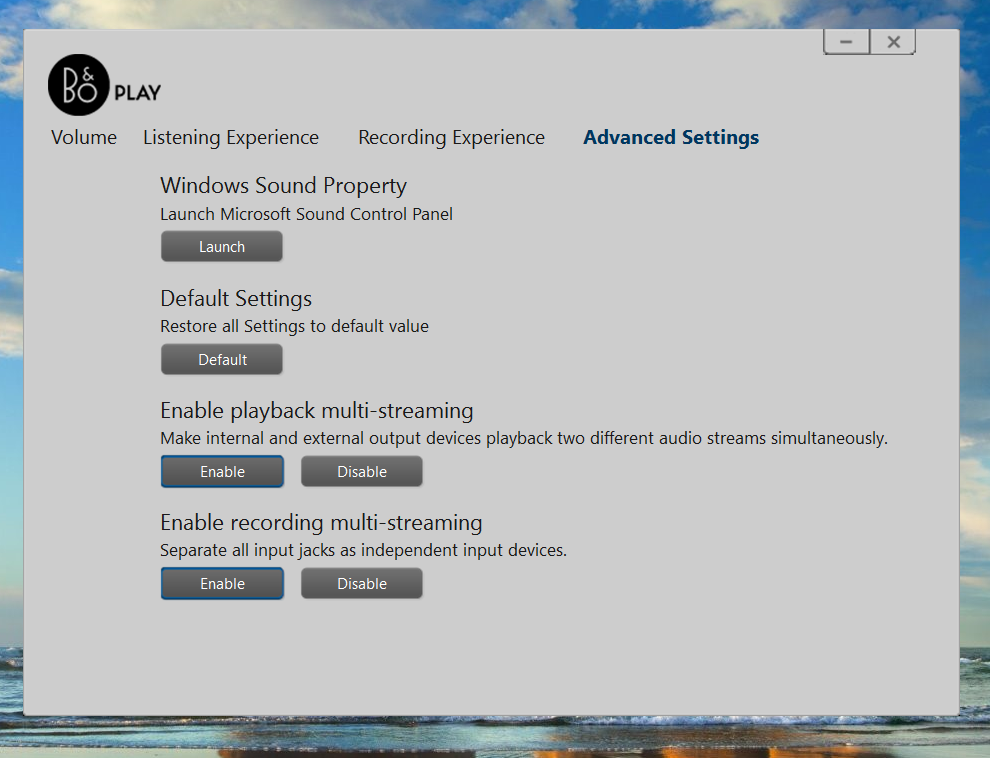
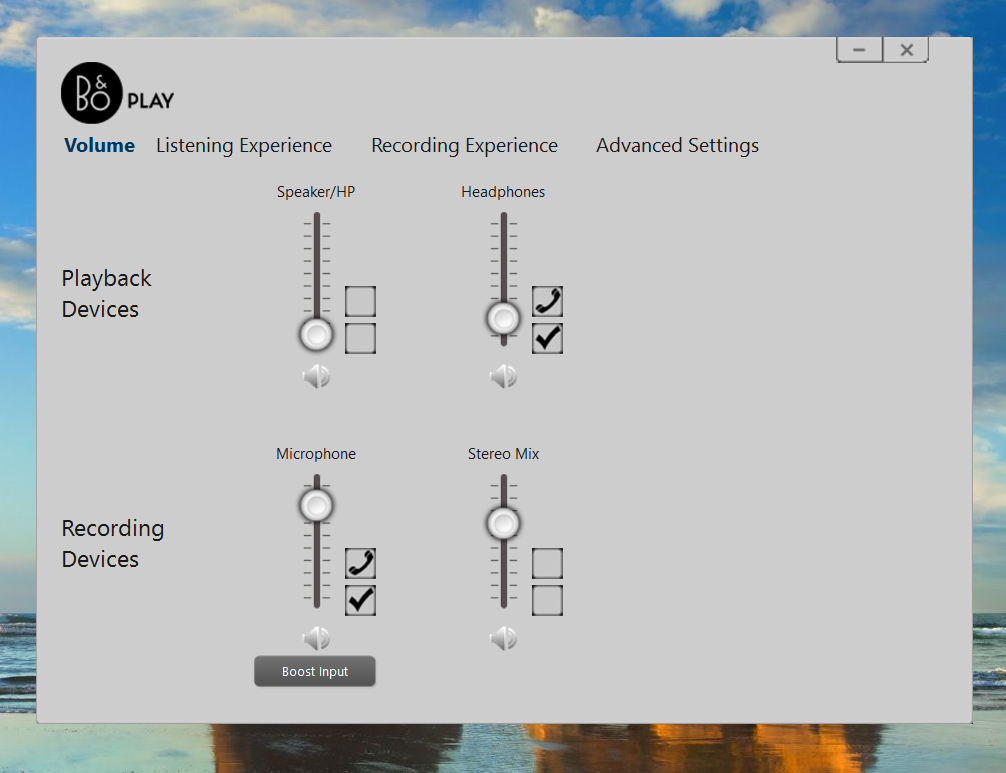
- Open the sound driver’s audio control panel. The system came with Bang & Olufsen speakers, we needed to go through the audio control panel for it. This control panel might be from a different manufacturer for other systems, depending on what speakers you have. If there is nothing there then you will need to go throught Windows default settings.
- Connect your speakers on the audio control panel you need to add the second device. For the Bang & Olufsen audio panel, you have to go to the Advanced settings and enable multi streaming playback and recording.
- The speakers and headphones you’ve connected will now show up separately in audio devices when you right-click the speaker icon in the system tray and select the volume mixer.
- Make your headphones default device, unplug your headphones and plug them in again.
So now that’s all! I hope you like this post. As you can see Windows provides many ways to make every thing’s better. These are the 2 ways to set your headphones as default device.
Thanks for reading! Enjoy 🙂


